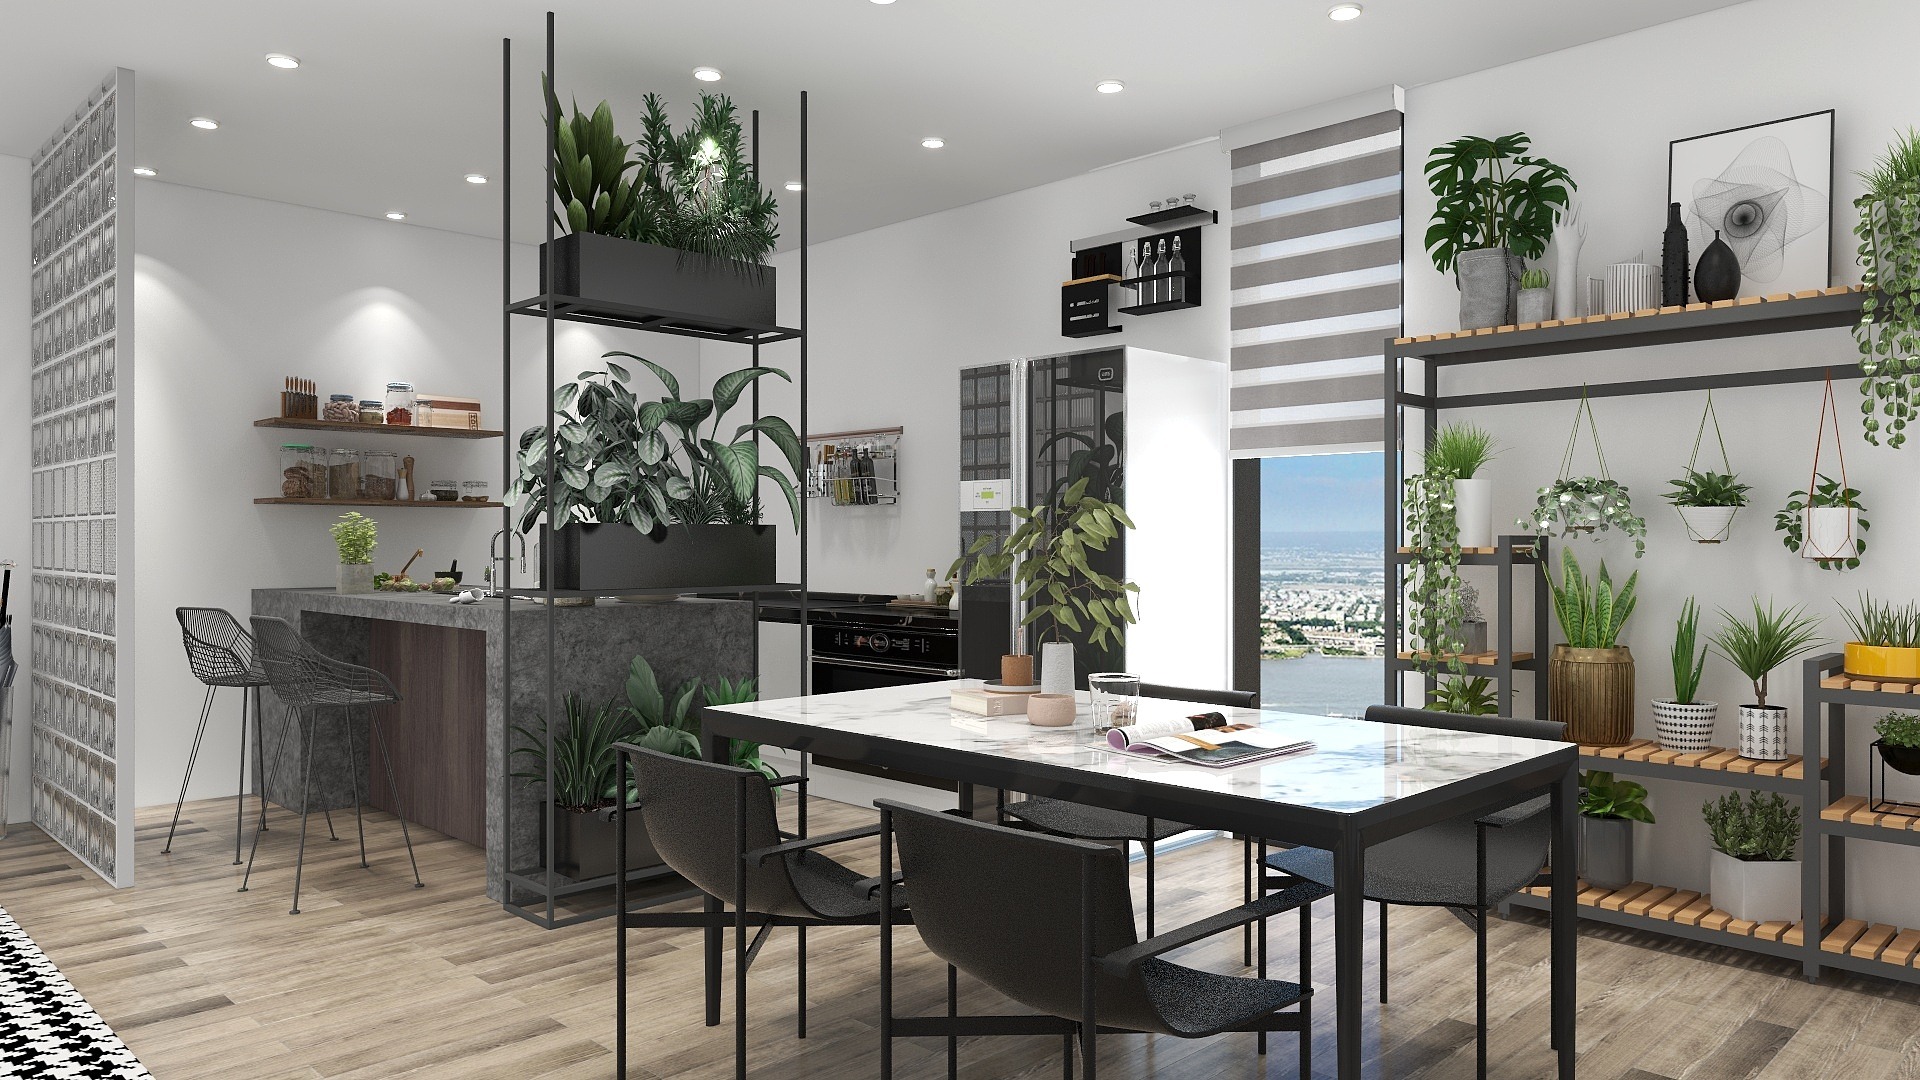
How to chamfer a corner in SketchUp: Learn the best techniques for creating chamfered corners in your SketchUp designs

Chamfering a corner in SketchUp can significantly enhance the aesthetics of your 3D models, giving them a more polished and professional appearance. Whether you're designing furniture, architectural features, or any other object, adding a chamfer can soften sharp edges and improve the overall look. In this article, we'll explore step-by-step how to chamfer corners effectively in SketchUp, ensuring that your designs stand out with a refined touch.
First and foremost, it's essential to understand what a chamfer is. A chamfer is a transitional edge between two faces, created by cutting away the corner of an object. This can be applied to both 2D and 3D shapes in SketchUp. To get started, you need to have your model open in SketchUp and select the edge you want to chamfer.
You can create a chamfer in several ways, but one of the most popular methods is by using the 'Offset' tool. Begin by selecting the edge you wish to chamfer. Then, activate the 'Offset' tool, which can be found in the toolbar or accessed by pressing 'F'. Click on the edge and drag inward to create a new line that defines the width of your chamfer. After you've created this offset line, use the 'Select' tool to choose the faces on either side of the offset line and delete them to expose the chamfered edge.
Another effective technique is to use the 'Follow Me' tool. This method is particularly useful for more complex shapes. Start by creating a profile of the chamfer you want, such as a rectangle or triangle. Then, select the profile, activate the 'Follow Me' tool, and click on the edge where you want the chamfer to be applied. This will create a smooth chamfer that follows the contour of the selected edge.
For users who prefer a more automated process, there are also plugins available that can simplify the chamfering process. Plugins like 'RoundCorner' or 'JointPushPull' allow you to easily add chamfers and fillets to your models with just a few clicks. These tools can save you time and ensure consistent results across your designs.
Once you've created your chamfer, it's a good idea to inspect it from different angles to ensure it meets your design expectations. Zoom in on the edges and rotate your model to get a clear view of the chamfered corners. If necessary, adjust the chamfer width or shape to achieve the desired effect.
In addition to improving the aesthetics of your design, chamfered edges can have functional benefits as well. They can help in reducing the risks of chipping and provide a smoother surface for finishes or paints. This is particularly important in furniture design, where durability and appearance go hand in hand.
In conclusion, chamfering corners in SketchUp is a straightforward process that can significantly enhance your 3D models. Whether you choose to use the 'Offset' tool, 'Follow Me' tool, or a plugin, adding chamfers can elevate your designs and provide a professional finish. Experiment with different methods to find the one that best suits your workflow and design preferences. Happy modeling!
Tips 1:
Always save your work before making significant changes to your model, as chamfering can sometimes alter the geometry unexpectedly.
FAQ
Q: Can I chamfer edges on complex shapes?A: Yes, using the 'Follow Me' tool or plugins can help you chamfer edges on intricate designs with ease.
welcome to Coohom
Please check with customer service before testing new feature.

