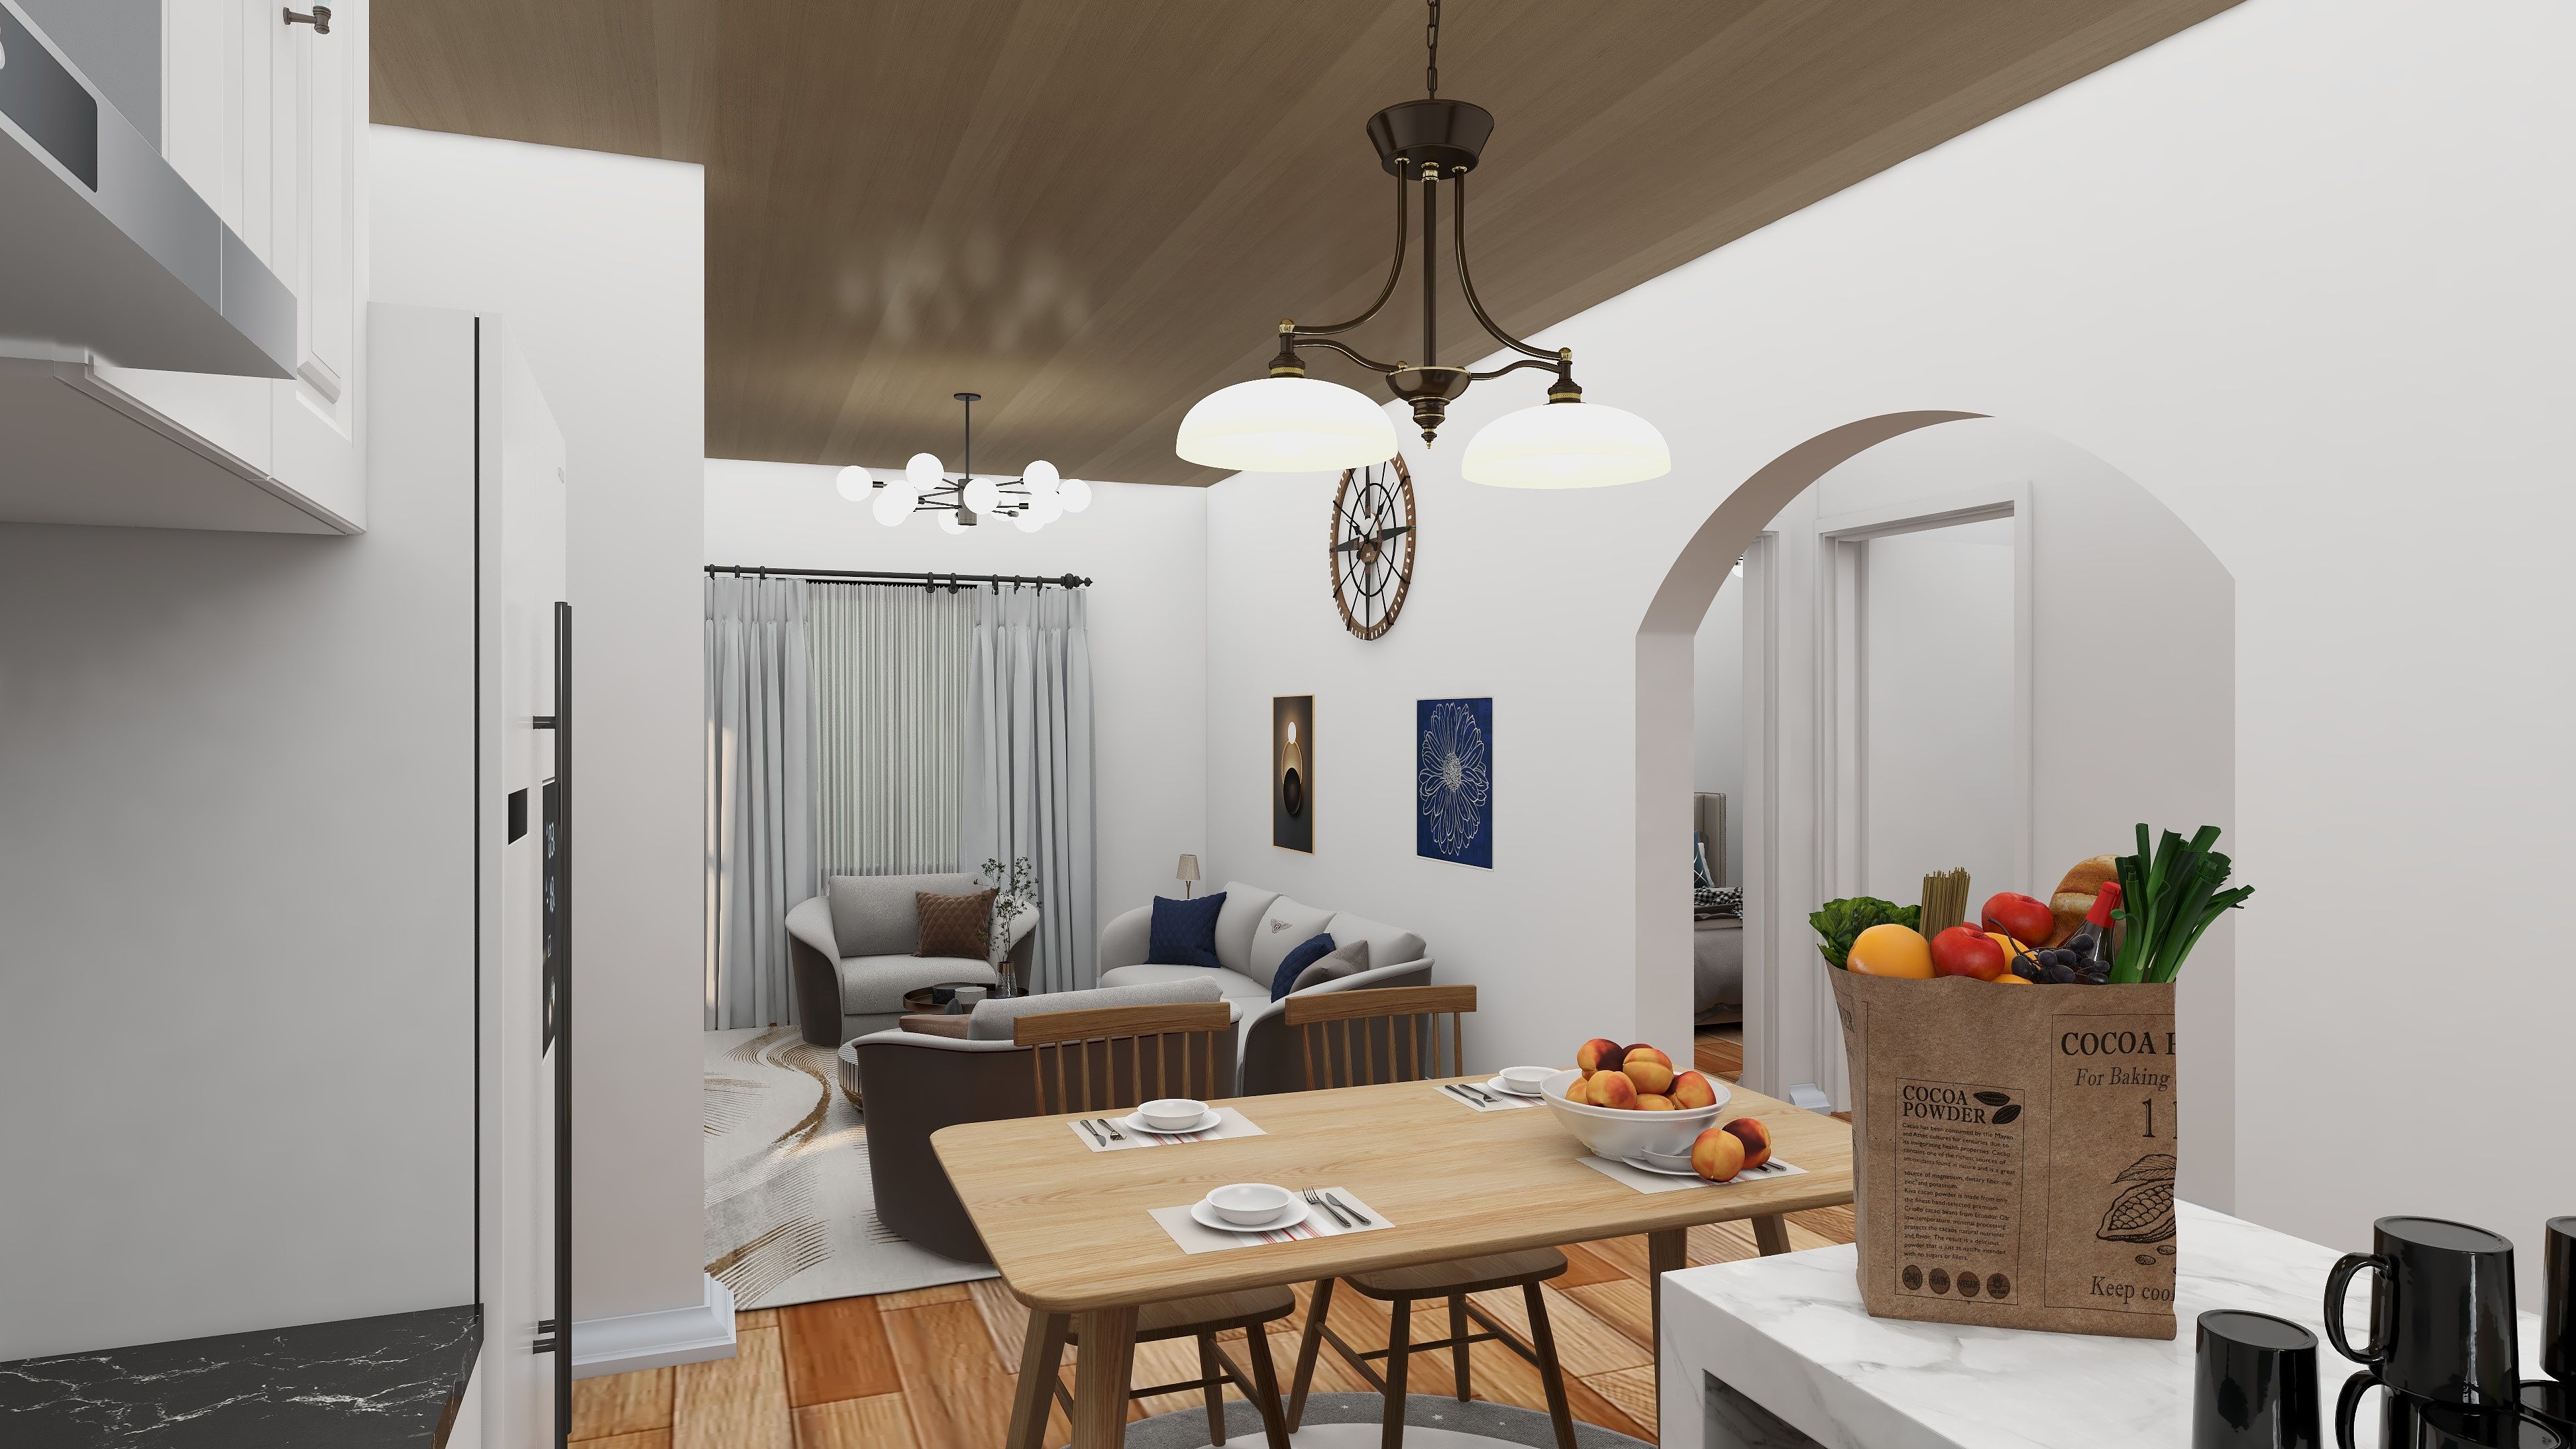
How to draw a hip roof in sketchup: Mastering the art of creating hip roofs with SketchUp

Creating a hip roof in SketchUp can seem daunting, but with the right steps, you can design one that not only looks professional but also adds character to your architectural projects. A hip roof is characterized by slopes on all four sides, which converge at the top to form a ridge. In this article, we'll walk you through the steps necessary to draw a hip roof efficiently in SketchUp. First, start by opening SketchUp and creating a new project. Set your template and measurement units according to your preferences. Once your workspace is ready, begin by drawing the base of the roof outline. Use the rectangle tool to create the footprint of your building's structure. Make sure to consider the dimensions that you want for your roof, as this will affect the overall design. After establishing the base, it's time to create the walls. Use the push/pull tool to extrude the rectangle into a 3D shape representing your building's walls. Now that you have your walls in place, the next step is to create the roof's slopes. Select the top edges of your walls where the roof will sit, and use the line tool to draw the slanting edges on each side of the building. Ensure that the angles are consistent for a symmetrical look. Once you have your lines drawn, you can use the move tool to adjust the height of the ridge to your desired level. This will give your hip roof its characteristic peak. Next, use the line tool again to connect the points where the roof slopes meet at the top, forming the ridge. It's important to ensure that these lines are straight and meet perfectly to create a well-defined peak. After establishing the peak, you can use the push/pull tool again to create the thickness of the roof by extruding the surface down to your desired depth. This adds realism and dimension to your model. Now, if you want to make your hip roof even more visually appealing, consider adding overhangs. This can be done by simply selecting the edges of your roof and pulling them outward using the move tool. You can also apply materials or textures to your roof to give it a more finished look. SketchUp allows you to import materials or create your own, so play around with different colors and textures that complement the style of your building. Finally, don’t forget to group the roof and walls separately. This will allow you to make adjustments or modifications later without affecting the entire model. After grouping, you can use the orbit tool to view your creation from different angles to make sure everything looks cohesive and meets your design vision. Voila! You’ve successfully drawn a hip roof in SketchUp! Practice makes perfect, so don't hesitate to experiment with different styles and dimensions to find what works best for your projects. Remember, every detail counts when it comes to architectural design, so take your time and enjoy the process. Happy modeling!
Tips 1:
Always ensure your measurements are precise to avoid errors in your design.
FAQ
welcome to Coohom
Please check with customer service before testing new feature.

