When it comes to creating high-quality texture samples, the shooting process is crucial. This article will explain in detail how to use a professional DSLR camera and good lighting conditions to shoot high-quality texture images that meet the high standards of texture restoration. You'll learn about the pros and cons of shooting equipment, the specific requirements for samples and lighting, as well as common image processing methods and considerations. This guide will help you avoid common problems and improve your final texture~
Take a Picture for Your Own Texture
what you need: good lighting and a professional SLR camera.
- The best professional photography equipment you need are DSLR Cameras.
- Mobile phones are not recommended because the quality of pictures taken by mobile phones is not good enough; also the filters in mobile phones camera will cause color difference, which makes it difficult to apply in the adjustment.

Advantages and difficulties of professional photography equipment:
- Advantages: it clearly shows the texture, and the map will be bigger.
- Difficulties: you have to be good at taking pictures, careful of light and details. Make the center shaper and blur the edge. You also need to retouch the photo after you shoot it.
Shooting Sample Requirements
1. The board size is above 600mm*600mm, with complete texture.
2. There is no blemish or dirt on the board.
3. The sample texture is beautiful and can represent the texture of the product.
Lighting Requirements
1. We recommend professional studios because they have better light control.
- Three soft light boxes with three lights at right angles to brighten the product in three directions.
- The camera is fixed with a tripod and taken at 90 degrees.
- The surrounding objects can also be photographed for post-processing.

2. If it's impossible to find a studio near you, you can look for any open site in the shade. Use the proper mode (e.g. Auto), with flash turned off, and no artificial lighting. Make sure that the material is evenly illuminated, avoid highlight or shadow, otherwise it will be very difficult to process afterwards.
- Note: Don't forget to check your image quality settings in order to get the best images
- vertical shooting: shoot the object vertically with the camera lens, the distance should be moderate, include all the objects and every detail is sharp, take in a large field of view, don't worry about surroundings, those can be removed during the process later.

Process the Photos
Method One: Plug-in processing
convenient and fast, suitable for simple and regular pattern texture, but it damages photo quality.
Method Two: Photoshop processing
more complicated but keeps photo quality.
- What is the resolution of the picture? ---- no more than 5000*5000 pixels.
- How big is the file? ---- The texture file should not exceed 5M.
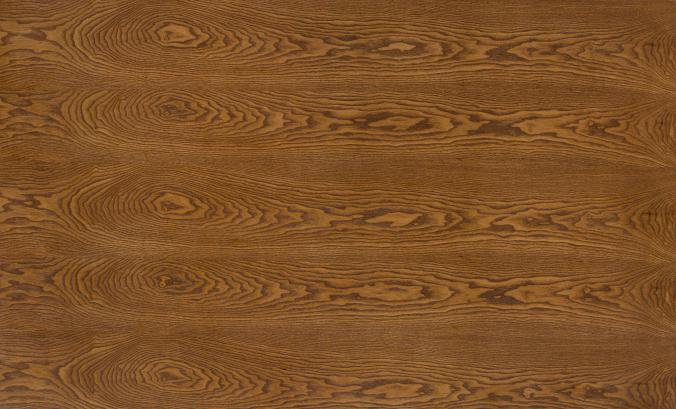
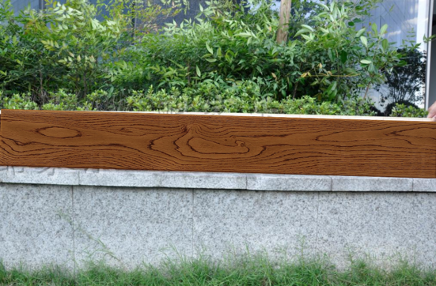
| Original photo | Photo after processing |
|
|
|
After the processing is completed, you can upload it and see the rendering~
Common Problems
|
Problem One: Texture direction is skewed. |
Problem Two: Highlight effect. |
Problem Three: Wrong angle. |
|
|
|
|
There are two main factors you should pay attention to during shooting:
1. Vertical shooting (it's hard to get the right texture when the material is flat and tilted.)

2. Uniform light distribution (It's very difficult to deal with the wrong lighting.)

Fail Fail Correct
Texture Sample Demonstrate


